
This is the app that will allow to transform the data sent to the MQTT Broker and store it in your Influx Database
This app is preloaded in your Barbara platform so the steps to install it in your Edge Device are similar to the process with the previous apps:
Configuring the Secrets
First of all, you need to add the following secrets for the Ingestor app to work:
| NAME | VALUE |
| ING_INFLUX_MQTT_USER | user |
| ING_INFLUX_MQTT_PASSWORD | password |
| ING_INFLUX_MQTT_HOST | mqttbbr |
| ING_INFLUX_MQTT_PORT | 8883 |
| ING_INFLUX_MQTT_SUB_TOPIC | MyEdgeDevice/read |
| ING_INFLUX_URL | http://influxdb |
| ING_INFLUX_ORG | barbara |
| ING_INFLUX_PORT | 8086 |
| ING_INFLUX_TOKEN | tokentokentoken |
- To add them, click the “Advanced Options” icon in the top menu

- Then click the “Add Secret” button and add the secrets according to the previous table:
You can add them manually one by one, or in bulk importing a TXT file. For your convenience we have compiled that list of secrets in the following TXT file. Just download it and import it through the “TXT FILE” button
Installing the Ingestor
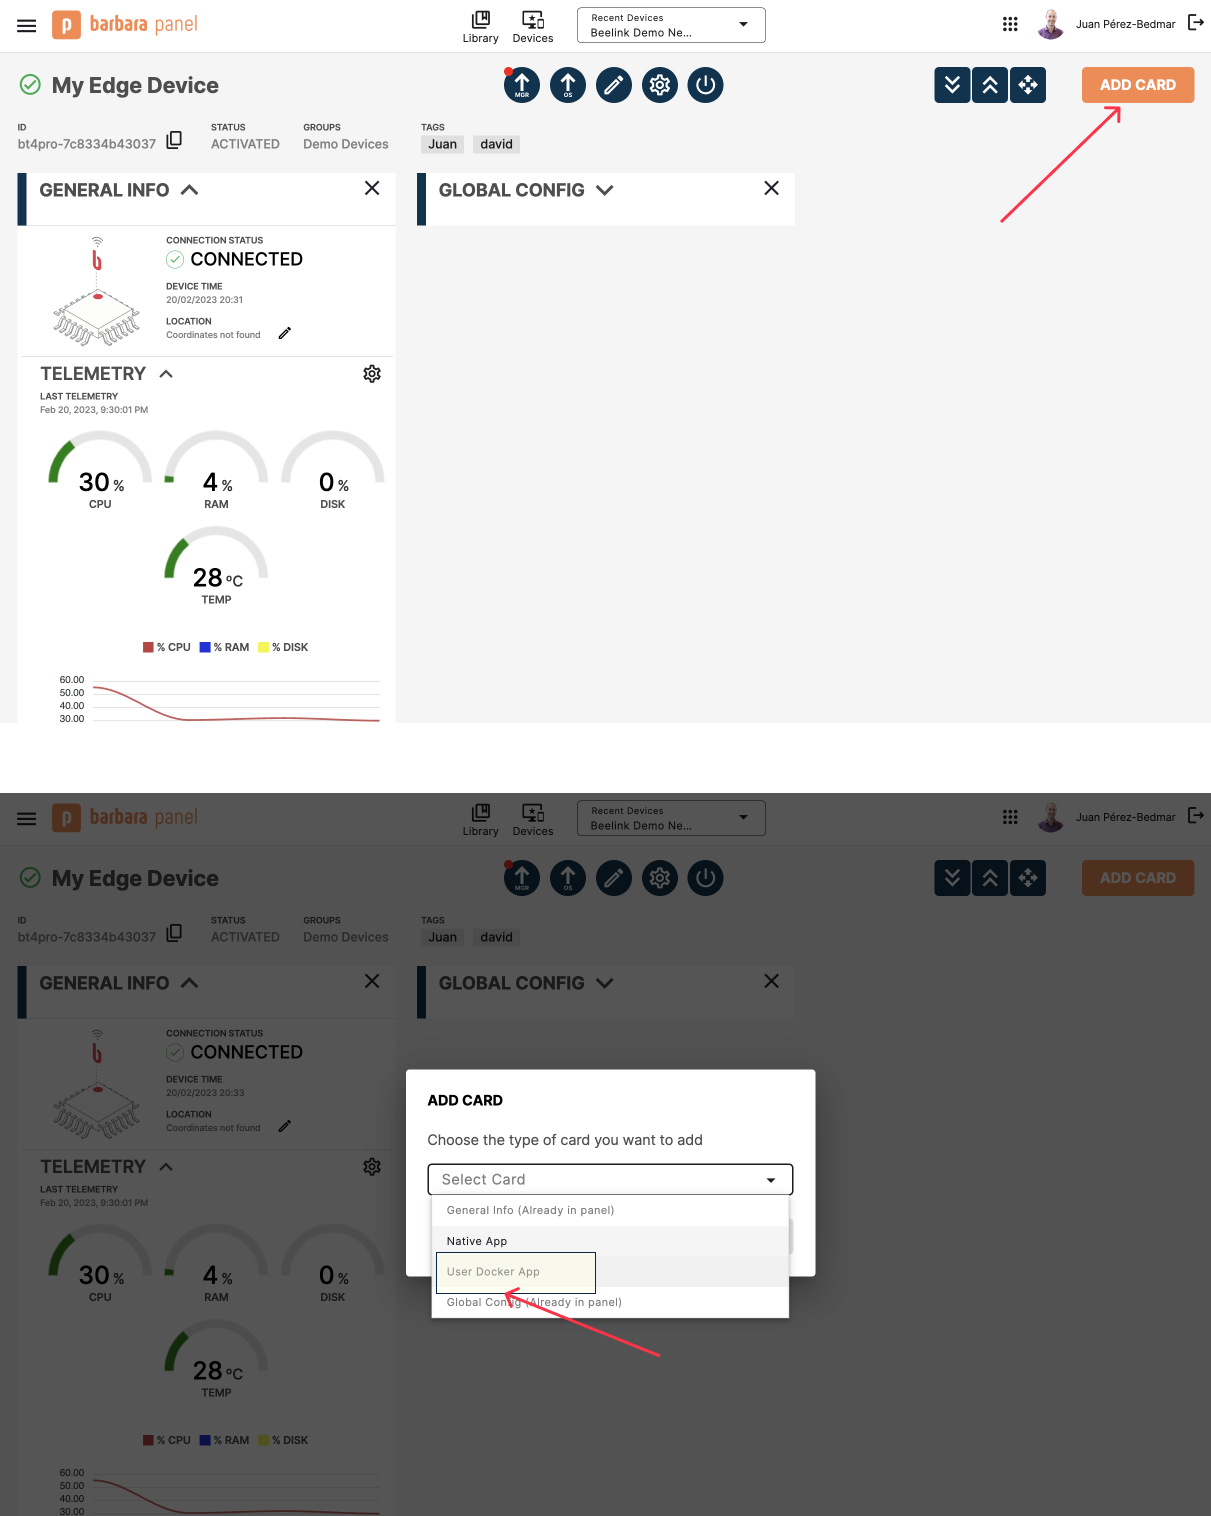
- Now you can install the application by clicking the ADD CARD button and choose the “User Docker App” option
- Select the “Ingestor MQTT-InfluxDB” app from the list of apps and pick the latest existing version. Click SEND button

In a few seconds you should see that the app is up and running
Configuring the Ingestor with the appconfig file
Finally it’s time to configure some settings of the app via the “APP CONFIG”. To do so you need to paste the following JSON-format text in the CONFIG section of your application card
{
    "ingestorMqttInfluxdb": {
        "system": {
            "debugLevel": "info"
        },
        "inputs": [
            {
                "bucketInflux": "barbara",
                "type": "read",
                "deviceDisplayName": "testDevice",
                "measurementInflux": "testDevice"
            },
            {
                "bucketInflux": "barbara",
                "type": "read",
                "deviceDisplayName": "testDevice2",
                "measurementInflux": "testDevice2"
            }
        ]
    }
}
where:
- debugLevel: it’s a text value that sets the level of logs you will get. For the purpose of this initial test we recommend to leave this as “info”
- ingestorInfluxOutputs: it’s an array of as many outputs, as devices you have previously defined in your Data Simulator appconfig JSON (in the example there were 2). Each one of these outputs must contain the following parameters defined:
- bucketInflux: is the influx “bucket” where data will be stored.
- type: it should be “read”.
- deviceDisplayName: this is the name of the device you previously defined in the appconfig JSON of your Data Simulator
- measurementInflux: Is the “_measurent” field name in influxDB.
